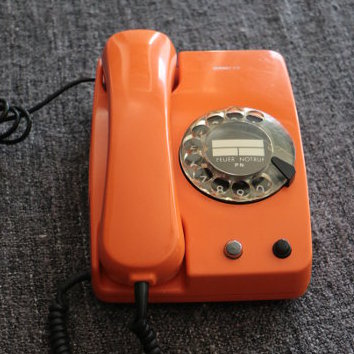
In part one of project iRotary, we got the Arduino to detect pulses from a rotary dial and turn them into a phone number, all in the name of turning this phone:

into a mobile phone I can use on the go. In part two, we will actually connect the Arduino to a GSM shield and place calls with the rotary dial like it’s 1993. I have seen the future, and it is the past. Read on for details!
Part two
In part two, I use an amazing Arduino GSM shield and corresponding library to very easily interface with the mobile network. Since I have the number detection algorithm available from part one, all I had to do is write some code to detect when the dialed number is ten digits long (all Greek numbers that I care to dial are ten digits long, but this does mean no emergency services), and then dial it. You can find this code in the iRotary repository.
The GSM shield I’m using has two 3.5mm jacks for headphones and mic, which I will connect to the handset in the next part. This means that I won’t be able to actually talk to anyone right now (unless I connect a mic, I guess), but that’s fine, since this is just one more step to greatness. Afterwards, I’ll attempt to connect the phone hook, buttons, indicator, etc and provide functionality through them.
Part two result
Dialing the actual phone number was a complete success:
Part two went pretty smoothly as well, and I can now rotary-dial numbers. The whole project is starting to shape up, and we can already see the makings of an amazing phone in the above demo. What remains now is to put the innards back into the phone, and connect all the inputs and outputs to the Arduino so we can use it the way Siemens intended, which is through software. For that, onwards, to part three!
Please tell me how much this amazing project has changed your life in the comments below, or directly on Twitter. You’re welcome.